Utilizing the Stream Deck Functionality
The Recommended Way (WebSockets)
In order to use your Stream Deck with the Stream Chamber, you need to download the free plugin at this link and install it to your Stream Deck software.
https://marketplace.elgato.com/product/web-requests-d7d46868-f9c8-4fa5-b775-ab3b9a7c8add
Once you have done that, you should be able to see a category called Web Requests on the right side menu.
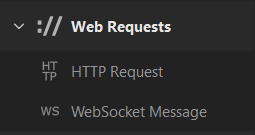
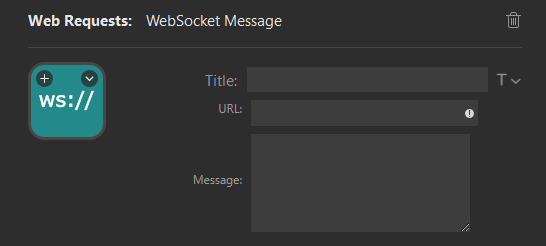
From there, you drag in the WebSocket Message option and should see this:
For this demo, we will use the idle screen as the scene we are creating the button for.
- In the Title box, type "Idle"
- In the URL box, you type "ws://127.0.0.1:30020" to connect to the web socket the Stream Chamber creates for you once it finishes launching. you must include the ws:// at the beginning otherwise this will not work
- In the Message box, you need to copy and paste this code block below into it, as this is where the actual "magic" happens.
{
        "MessageName": "http",
        "Parameters": {
            "Url": "/remote/preset/rcmain/function/change scene",
            "Verb": "put",
            "Body": 	{
		"Parameters": {
            "Scene": "idle"
		},
		"GenerateTransaction": true
	}
        }
    }
When you are creating the other buttons, you want to change line 8 to have the correct scene parameter. So for example, winner would be:
{
        "MessageName": "http",
        "Parameters": {
            "Url": "/remote/preset/rcmain/function/change scene",
            "Verb": "put",
            "Body": 	{
		"Parameters": {
            "Scene": "winner"
		},
		"GenerateTransaction": true
	}
        }
    }
And the only difference is the word on line 8. Make sure to keep everything else, quotation marks and so on, as is, because the Stream Chamber expects the format in this specific way.